Process ArtworkWe take the artwork you send us or that we create for you and create the traps necessary for proper color registration then we separate the individual colors and send them to the art department for printing. |

|
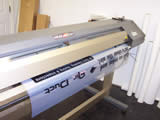
Print the FilmThe art department takes the file we send them and prints the individual color separations to film on one of our Roland FJ-500 large format inkjet printers. |
|
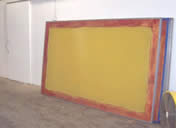
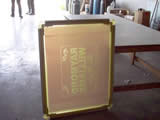
Coat the screenWe start with a clean screen. Our screens are aluminum frames with 305 tpi mesh stretched over them. The mesh is similar to panty hose, except it’s a much more expensive and there are many more threads per inch. As I said, our mesh is 305 tpi which means there are 305 threads per square inch in each direction. That’s a bunch of threads! This clean screen is coated on both sides with a UV sensitive emulsion. Then the screen is placed in our dark room to prevent it from being exposed to UV light. Once the emulsion is dry it rinse out with plain water until it is exposed to intense UV light. Once the emulsion has been exposed to a UV light source it becomes very tough and requires a special chemical to remove it from the screen mesh. |
|
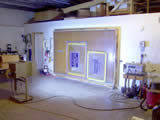
Burn the screenThe film the art department printed is placed in the proper location on the screen and taped into place. The coated screens with the artwork are then place into a large vacuum frame which ‘sucks’ the screen and the artwork down flat against the front glass of the frame. This is to prevent any light from getting under the edge of the film. Light getting under the film would cause an under burn. This would prevent some areas of the screen from washing out during the rinse. Then we turn on our 5kw light source. This exposes the sections of the screen that are not covered by the black film to be exposed to intense UV light which makes the emulsion very tough. The areas of the screen under the black part of film do not receive any UV light, so they will still rinse out with plain water. |
|
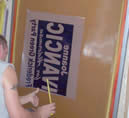
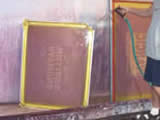
Rinse out the screenNow we take the exposed screens to the wash out booth to rinse out emulsion that was not hit with UV light. You can see in the photos to the right how the image begins to appear as the water rinses over the screen. This produces a screen that matches the film we taped on the screen. |
|
Dry the screenNext the screens are set outside is the sun for drying and post curing. This post curing is done to ensure the emulsion is completely cured to prevent cross-linking of the ink and emulsion during the screen printing process. If the emulsion is under cured and cross-linking occurs it makes it difficult to clean out the screen mesh. |
|
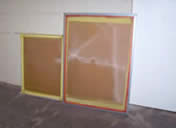
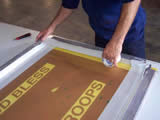
Pinhole and tape the screenNext we inspect the screen very closely for minor holes in the emulsion. Any pinholes or imperfections in the screen are then covered with screen blocker. If you click on the image to the right and look closely at the more detailed picture you will see little green spots on the screen. These green spots are the screen block we use to block out the pinholes. Then the edges of the screen are taped to prevent any ink from running out on to the screen printing press. |
|
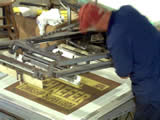
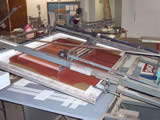
Setup the pressThe taped and pinholed screen is then loaded into the press and the corrugated sign board is lined up to screen. Once the sign board has been lined up we place plastic stops at the back and the side of the sign board. |
|
Print the signsNow after 3 hours of work and waiting we can actually print the first sign. The ink is poured into the screen and the printing of your political signsbegins. |
|
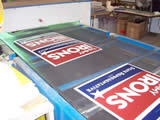
Cure the signsOnce the corrugated sign has been printed we place on the UV reactors’ belt. The sign runs under a 18,000 watt light bulb and ‘drys’ instantly. These political signs are ready to stack to the ceiling after they fall off the belt. The term ‘dry’ is a bit misleading, the correct term would be ‘cure’. The UV inks are cured solely by the 18,000 watts of light. |
The Process
Big Daddys Signs > The Process

